
How to Clean Baseboards Without Hurting Your Back?
Baseboards frame every room in your home, yet they are notoriously easy to ignore until they are caked in a thick layer of gray dust and pet hair. Unfortunately, tackling them the traditional way—getting down on your hands and knees to scrub every inch with a rag—is a fast ticket to a sore back, aching knees, and sheer exhaustion.
Fortunately, you can achieve immaculate, dust-free trim without ever bending over or crawling across the floor. By utilizing long-handled tools, smart routines, and correct techniques, cleaning baseboards becomes a quick and pain-free chore.
Quick answer: use long-handled tools and clean in sections
Reduce bending, kneeling, and repeated scrubbing
The secret to saving your back is bringing the work up to your standing height. By utilizing telescoping mops, extendable dusters, or vacuum attachments with long wands, you can glide along the baseboards while standing completely upright. Breaking large spaces down into manageable room-by-room sections keeps the task from becoming overwhelming.
Best tools for cleaning baseboards
Vacuum brush attachment
A lightweight vacuum equipped with a soft-bristle brush or crevice tool lets you suck up loose dirt and pet hair directly out of floor crevices without stooping.
Microfiber mop or wand
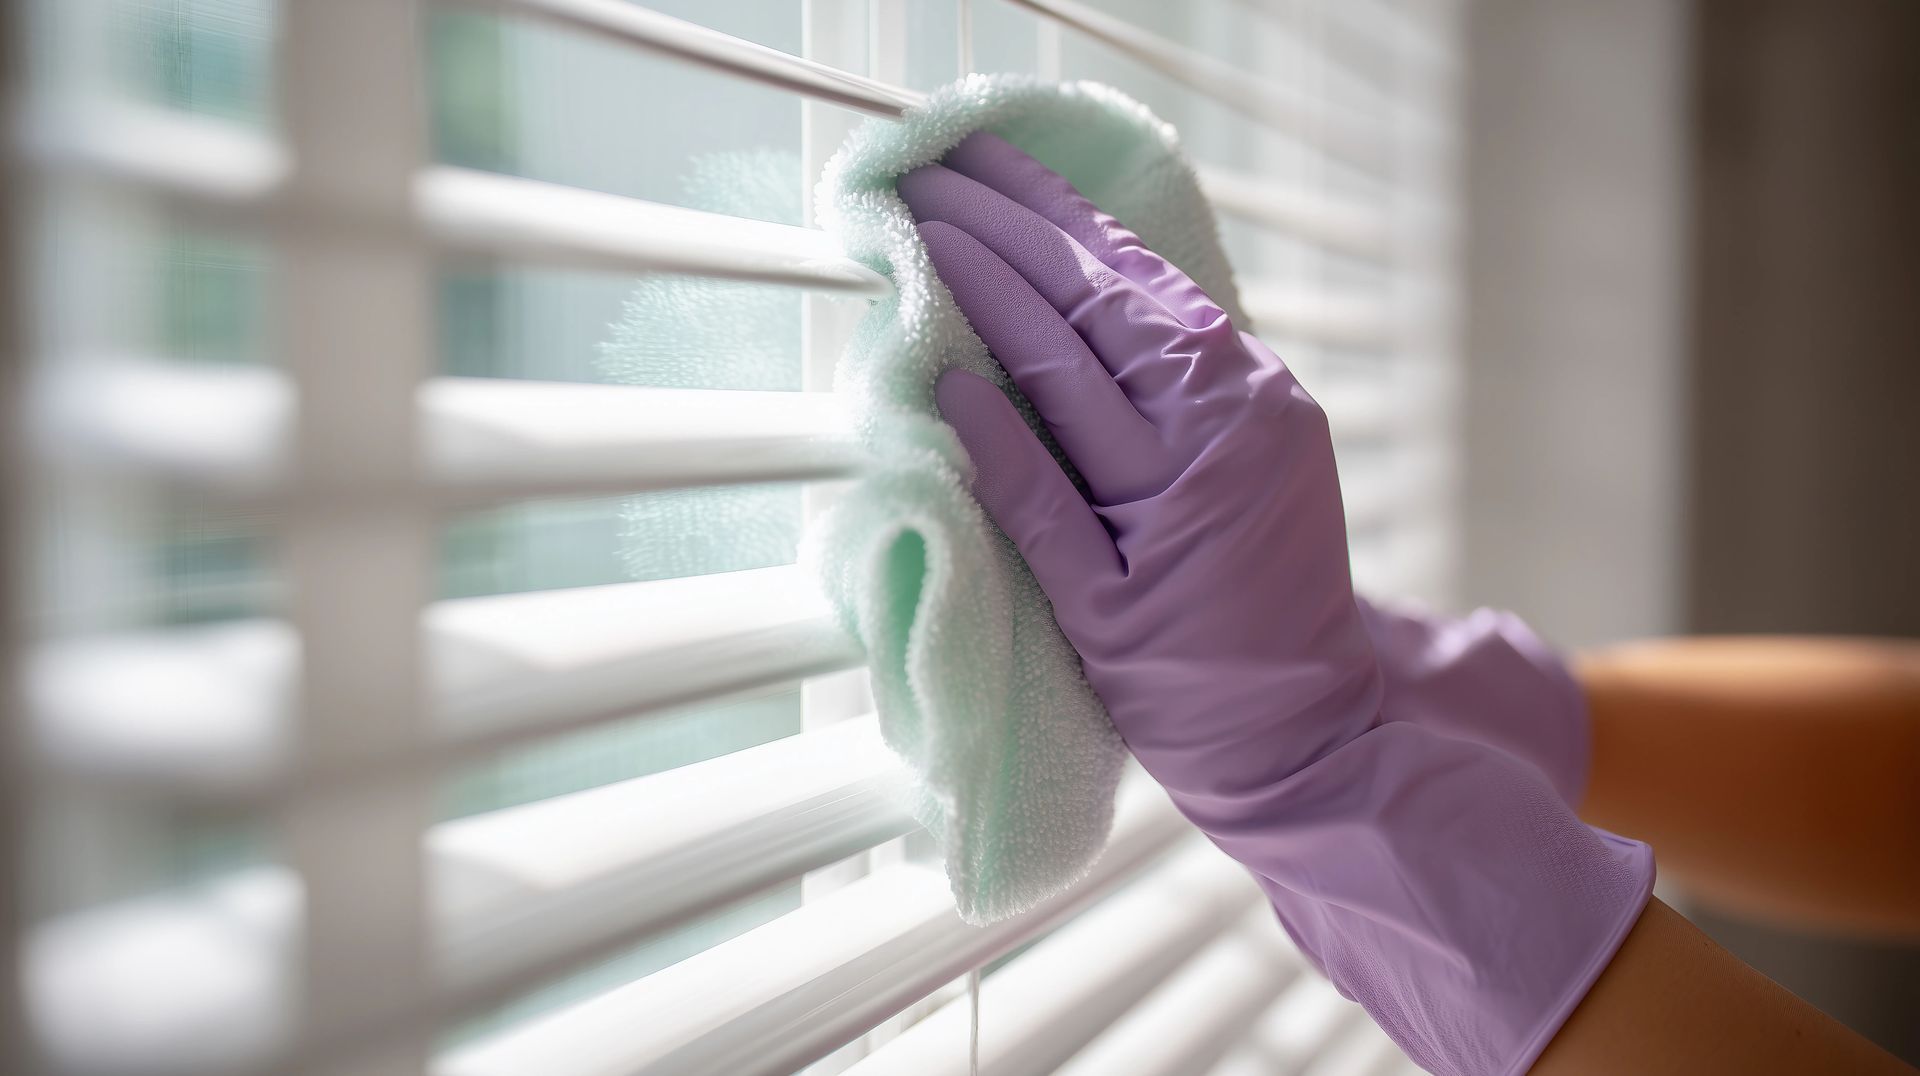
A flat microfiber mop with a pivoting head or a long-handled electrostatic duster can be run effortlessly along the perimeter of a room as you walk.
Extendable duster
Telescoping dusters extend your reach entirely, making them indispensable for whole-house dusting sweeps.
Soft cloth for spot cleaning
Keep a damp microfiber cloth handy for targeted hand-wiping of stubborn grime.
When dryer sheets can help with light dust
Securing a dryer sheet around a vacuum brush attachment or broom head not only lifts dust efficiently but leaves behind a subtle antistatic coating that repels pet hair and dust from clinging right back onto the surface.
Step-by-step baseboard cleaning method
Dust or vacuum first
Never apply moisture to dusty baseboards, or you will turn dry debris into a muddy, smeared paste. Run your vacuum attachment or long-handled microfiber duster along the trim first.
Wipe painted baseboards gently
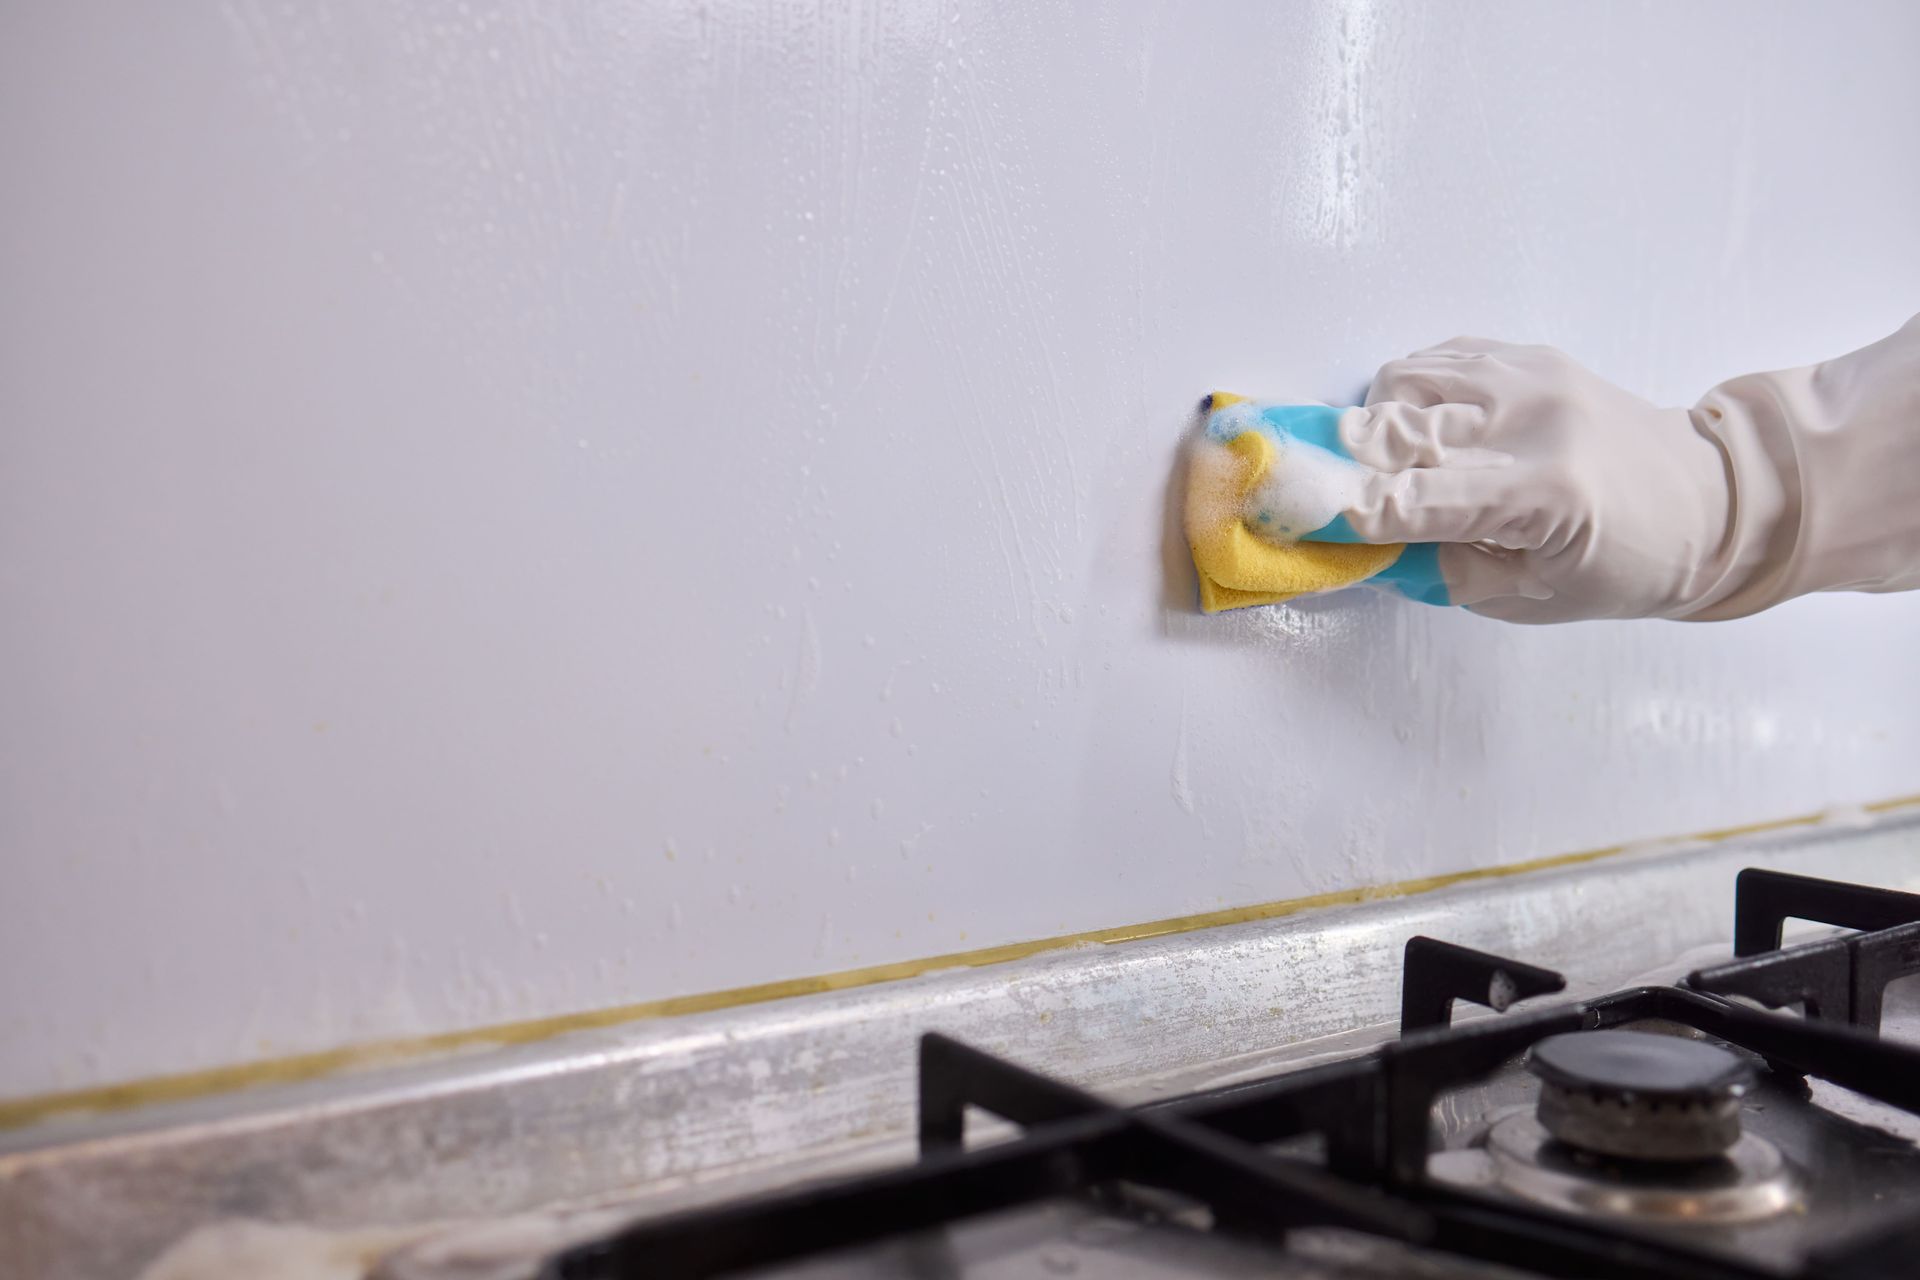
Lightly dampen a flat mop or microfiber cloth with warm water and a single drop of mild dish soap. Wring it out thoroughly so it is only slightly damp, then wipe the molding systematically.
Spot clean scuffs and stains
Target black shoe scuffs or sticky spots using a slightly damp melamine sponge (Magic Eraser), which lifts blemishes effortlessly without requiring harsh chemical scrubbing.
Dry the surface to prevent streaks
Pass a dry microfiber cloth over the baseboard to absorb lingering moisture and prevent water spots or paint streaks.
How to clean corners and tight edges
For inside corners and intricate woodwork grooves where flat tools can't reach, wrap a cloth around a narrow crevice tool or use an old soft toothbrush to clear out trapped debris.
How to clean different baseboard materials
Painted baseboards
Painted trim handles mild dish soap or all-purpose cleaners well, but avoid harsh industrial solvents that can soften latex paint.
Wood baseboards
Natural wood trim requires minimal moisture to prevent warping or water staining. Use a barely damp cloth and dry the wood immediately, following up with an occasional application of natural wood polish to keep the grain healthy.
Glossy trim
High-gloss and semi-gloss paint finishes show dust and streaks easily. Buff them completely dry with a clean microfiber cloth to maintain a brilliant, polished sheen.
How often should baseboards be cleaned?
Monthly maintenance vs. seasonal deep cleaning
- Monthly Maintenance: Run a dry microfiber duster or vacuum brush along your baseboards once a month to prevent heavy buildup.
- Seasonal Deep Cleaning: Perform a wet wash and scuff-removal session every 3 to 6 months.
Homes with pets, kids, or high dust levels
If you share your home with shedding pets, crawling toddlers, or live in a dusty climate, increase your dry-dusting frequency to biweekly to keep fur and allergens from baking onto the trim.
How to protect your back while cleaning
Ergonomic tools and pacing tips
Never force yourself into painful crouching positions. Invest in tools with telescoping poles, and if you do need to get down to hand-wipe a stubborn stain, use a thick knee mat or sit on a low, sturdy rolling stool to protect your joints. Take breaks between rooms to stretch and keep your posture upright.
When professional cleaning can help
Detailed cleaning for trim, edges, and hard-to-reach areas
Keeping every baseboard in the house impeccably detailed can feel like an endless task when balanced against a busy schedule. Partnering with a reliable professional cleaning service like Star Maids Cleaning Solutions ensures your baseboards, trim, and hard-to-reach corners are meticulously maintained alongside your floors.
Ready to enjoy a flawlessly clean home from ceiling to baseboard without lifting a finger?
Click here to get your custom quote from Star Maids Cleaning Solutions today!
FAQ
What is the easiest way to clean baseboards?
The easiest way is using a long-handled microfiber duster, dust mop, or vacuum brush attachment. This allows you to stand completely upright while sweeping away dust and dirt without bending over.
Can you mop baseboards?
Yes! Many people use a flat microfiber mop with a pivoting, low-profile head to dust or lightly damp-clean baseboards quickly while standing. Just ensure the mop pad is only slightly damp, not soaking wet.
How do you remove scuff marks from baseboards?
Black scuff marks from shoes or furniture can be removed effortlessly using a damp melamine sponge (Magic Eraser), which acts like a micro-fine eraser to lift marks without stripping paint.
How often should baseboards be dusted?
Baseboards should ideally be dry-dusted once a month during routine cleaning, or every couple of weeks if you have pets or notice heavy dust accumulation in high-traffic hallways.